
Hey gang. I've been seeing Keslyn's pictures when she uploads them on her facebook for her store Aquabloom. I asked her if she would be interested in a tutorial for the blog. That is exactly what she did. Stay tuned for a giveaway coming up later this month :) Enjoy!Thanks again Keslyn. (also you can visit her store by clicking the button on the right side bar)


An AquaBloom Tutorial Favorite: Bloom Bands
Supplies:
Any favorite elastic/semi-elastic band of sorts
Felt square
Hot glue gun
Contrasting Thread/Needle
Pinch of creativity

To make this particular Bloom Band, I used this simple flexi-lace that I found at my local Wal-Mart (or any possible crafting/sewing section of your local store). It doesn't stretch too much, but just enough to adjust.

Measure approximately 21-23 1/2 inches (this is just the average circumference of an adult woman's head). For this band, I measured 22 inches and cut.

Fold it in half, wrong side out, and sew shut. Just depending on how much you sew, you can use a fancier stitch with zig zag to be sure it won't unravel. Again, depending on what kind of fabric you're using. You can also do this step by hand, anyone can make these!

Taking your felt fabric (in whatever color you want) cut approximately a 2 inch square. Depending on how many blooms you want on a band, you can continue cutting more and stack them. I'm making one with three blooms, so I have made them gradually smaller. The next bloom measures approximately 1 1/2 inches, and the smallest 1/2 inch.

Round the edges. This doesn't have to be perfect!!
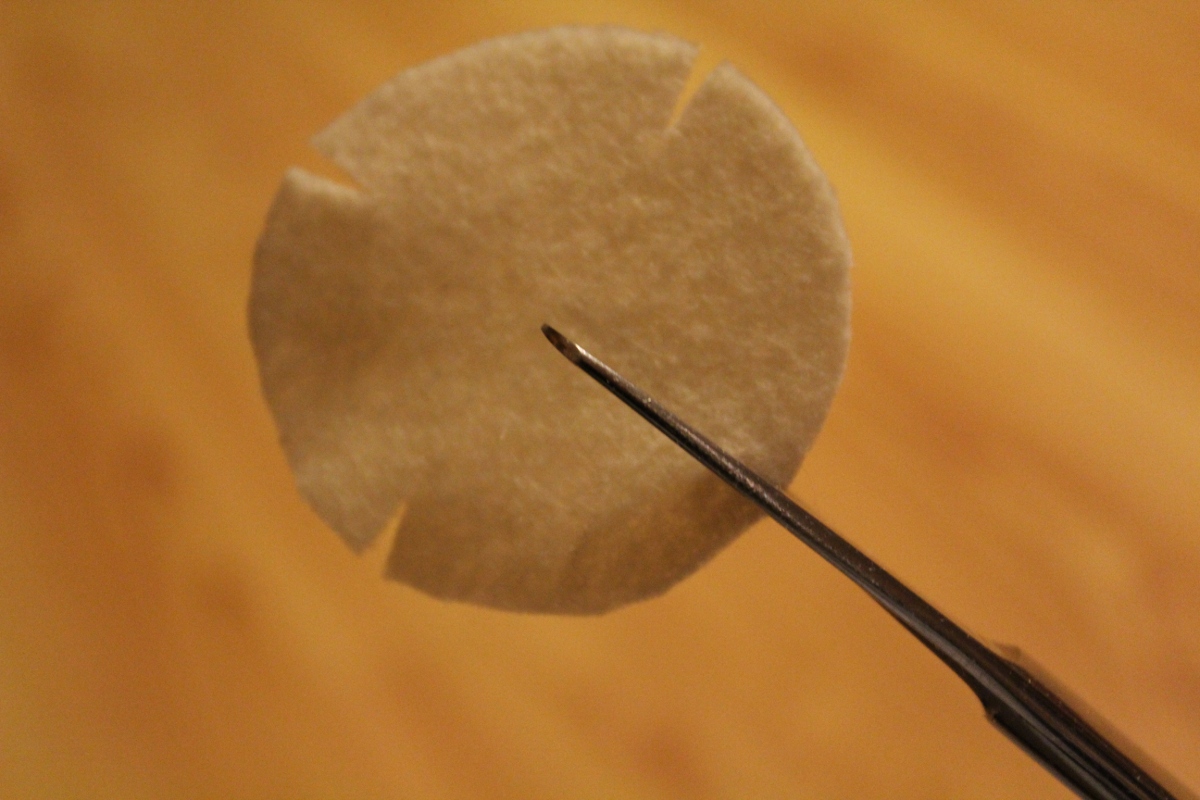
Cut twice inward, and remove the fabric sliver. Do this four times, somewhat straight across from each other.

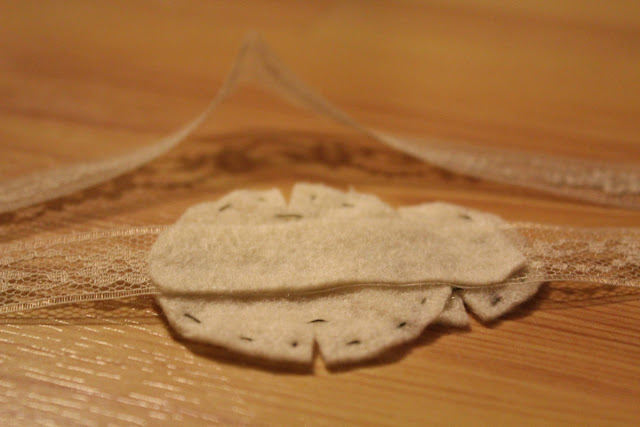
Find a coordinating thread. I decided upon a hunter green. (This picture also illustrates how you'll lay them when gluing them together)

For each bloom, sew an "X" across the middle. Then hand stitch around the edges to really make the flower look pop.

Get your glue gun hot, then glue the flowers on top of each other any way you desire. Measure about 1/3 of the way from the seam, so that the bloom will sit tilted to the side of your band, like so.

Cut a fabric band any shape you wish, and glue it to the back to act as a comfort barrier against your head, and it will stay secured. I cut a piece as big as the band, but small enough to stay hidden when wearing. You can also cut two small pieces and lay them vertically, or lay your bloom down and use it as a pattern to cut. Consider using a nice contrasting color if you choose the last option! :)

And that's it! Congratulations, you've just made a Bloom Band!! If you're really crafty and want variation, you can add some pearl accents, or a nice big rhinestone for sparkle. This is really as much or as little as you desire, and this is a basic tutorial. This Bloom Band and Flower Bobbies are up for a giveaway by Tanja, stay tuned to find out how to win this set shipped to you!! My thanks to Tanja for inviting me to share this tutorial!! To find other custom items available, you can click on my etsy shop button and check out so much more about Aqua Bloom!!
-Keslyn (owner)
No comments:
Post a Comment
Hello there! Thanks so much for stopping by She Sailed the Sea. Please leave your blog or website so I can stop by and show YOU some love. Let's be friends.